
If you’re using Windows 11 and your microphone isn’t being detected, isn’t transmitting your voice, or doesn’t appear as an input device, this can be frustrating—especially right before an online meeting or recording session. This article breaks down the key settings in Windows 11 to check step by step, so you can isolate the issue without unnecessary restarts or cable swapping.
1. Check Whether Windows Recognizes the Microphone
First, make sure that Windows actually detects your microphone as an input device:
- Open Settings.
- Go to System → Sound.
- Look at the Input section.
If your microphone doesn’t show up here, Windows isn’t detecting it at a system level yet. Try the following:
- USB mic: Plug it into a different USB port.
- Headset: Check whether the mic is listed separately from the headphones.
At this stage, if the device still isn’t visible, the issue may be hardware connection or drivers.
2. Confirm the Correct Input Device Is Selected
Even if the microphone appears in the list, it might not be the one Windows is currently using.
- Make sure the correct microphone is selected under Input.
- If multiple devices are listed, ensure your preferred mic is chosen instead of the internal or a different one.
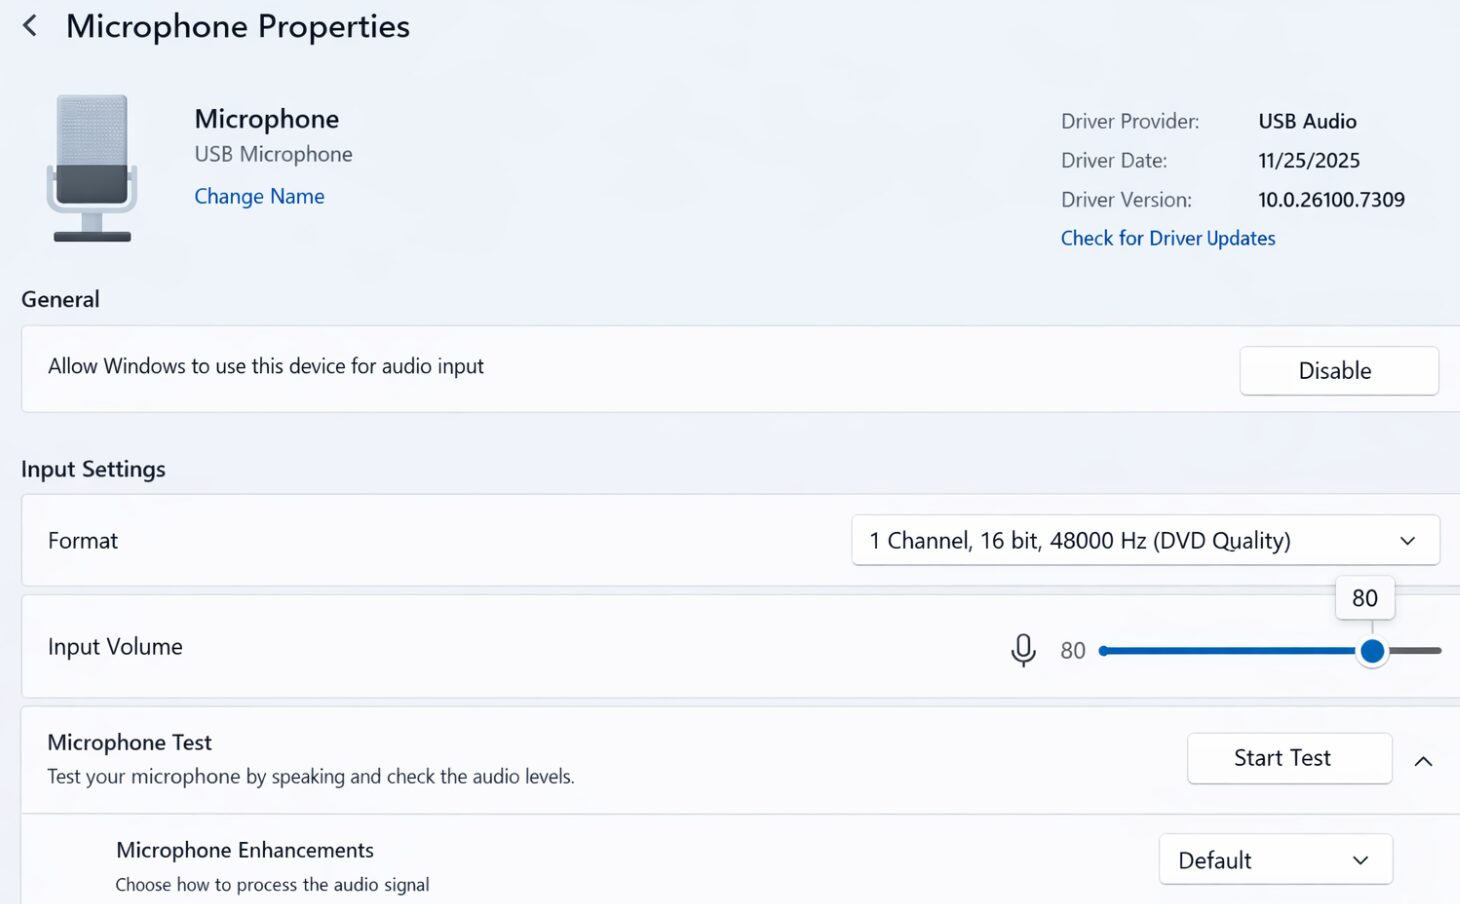
3. Check Microphone Volume and Mute Settings
Sometimes the mic is detected, but its volume is too low or muted.
- Go to Settings → System → Sound.
- Under Input, select the microphone you’re using.
- Check the input volume slider and set it to a reasonable level.
- Speak to see if the input level meter responds.
If the meter doesn’t move, continue to the next steps.

4. Verify Microphone Access Permissions
Windows 11 includes privacy settings that can block apps from accessing your microphone. If permissions are disabled, apps like Zoom, Teams, or OBS won’t be able to use it.
To check:
- Open Settings → Privacy & security.
- Select Microphone.
- Make sure the following are all enabled:
- Microphone access
- Let apps access your microphone
- Let desktop apps access your microphone
If any of these settings are off, enable them.
5. Check App-Specific Microphone Settings
Even if Windows detects your mic and permissions are granted, some apps may still have their own audio settings.
- Open the relevant app (e.g., Zoom, Teams, Discord).
- Go to its audio or input settings.
- Ensure the same microphone selected in Windows is chosen within the app.
6. Inspect Devices in Device Manager
If nothing above helps, use Device Manager to check for deeper issues:
- Right-click the Start button and open Device Manager.
- Expand Audio inputs and outputs.
- Look for your microphone device.
- See if there are any warning icons (e.g., ! or ×) next to it.
If a warning appears, the driver may be missing or corrupted.
7. Check Your Audio Drivers
Driver problems—especially after a Windows update—can cause the mic to stop working.
- Confirm that the device driver is properly installed and up-to-date.
- If needed, visit your PC manufacturer’s site to download and reinstall the latest audio drivers.
Q&A (Common Questions)
- My microphone doesn’t show up in Sound settings. What does that mean?
-
Windows isn’t recognizing the device yet. Try plugging it into another port, test it on another PC, or check Device Manager.
- The input level meter never moves.
-
The mic may be muted, very low in volume, or physically switched off on the device.
- My mic shows in Windows but apps don’t use it.
-
Ensure the app’s internal settings match your Windows input device and that permissions are granted.
- My mic suddenly stopped working after an update.
-
A driver or settings change might be the cause—check Device Manager and reinstall drivers if needed.
Summary
When your microphone isn’t detected in Windows 11, most causes fall into these categories:
- Windows doesn’t recognize the device
- Incorrect input device selected
- Mic volume or mute issues
- Privacy settings blocking access
- App-specific audio configurations
- Driver or hardware issues
By following the steps above, you can systematically narrow down and fix the issue.

